Three Minutes to Professional Freedom
Setting up Sylton Connect feels like upgrading your favorite practice tool—straightforward, beneficial, and immediately impactful. Whether you’re in a boutique day spa or a multi-specialty aesthetic medicine center, the entire process respects your time while opening new possibilities for patient care.
Quick Setup Overview:
- Open Observ app > Settings > Sylton Connect
- Enter voucher code (included with your Observ)
- Choose Virginia data center for optimal US performance
- Watch your first session automatically sync
- Access from any device immediately
Your First Day Experience
Setting up your practice profile takes about ten minutes. Add your practice name and logo, input practice details, and set your preferred currency to USD. Send team member invitations through the simple interface, and watch them gain immediate access to your shared patient database.
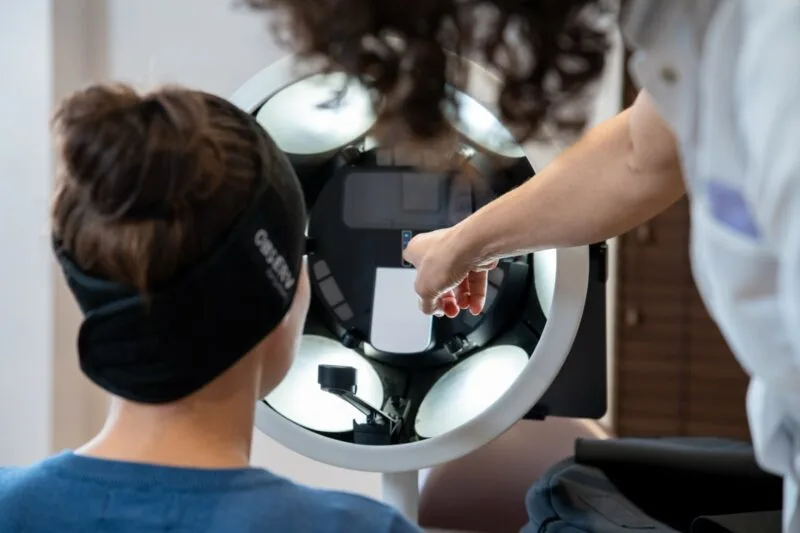
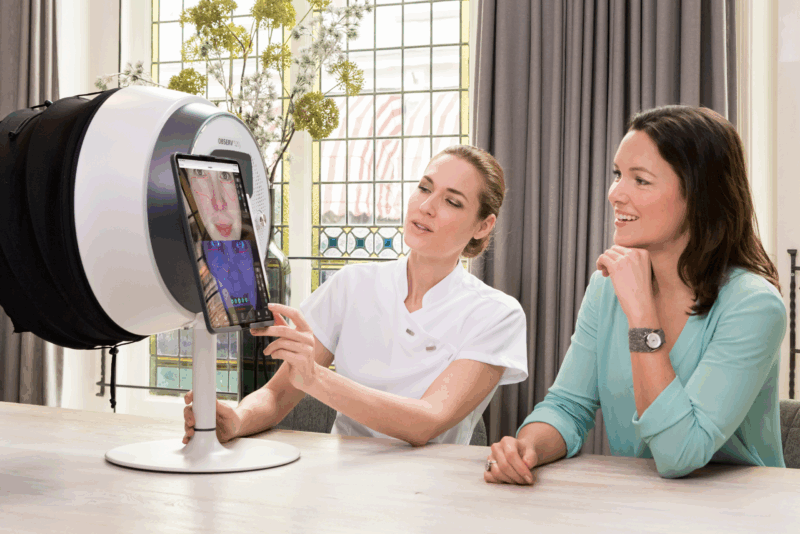
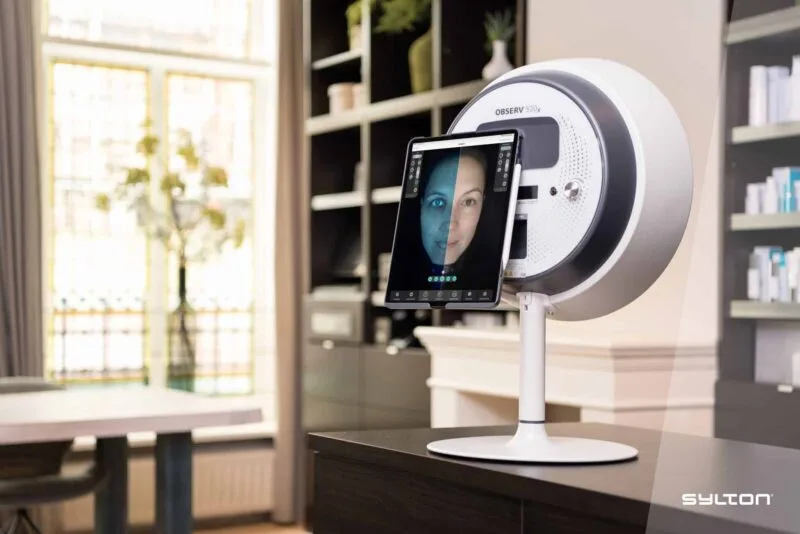
Your first patient session reveals the transformation. Capture images as usual on your Observ, complete your consultation, and watch data automatically sync to the cloud. Open your laptop in another room, and there’s the same session, complete with all your annotations and recommendations.
Day One Checklist:
- Create practice profile with logo
- Invite team members
- Set up initial treatment catalogues
- Test cross-device access
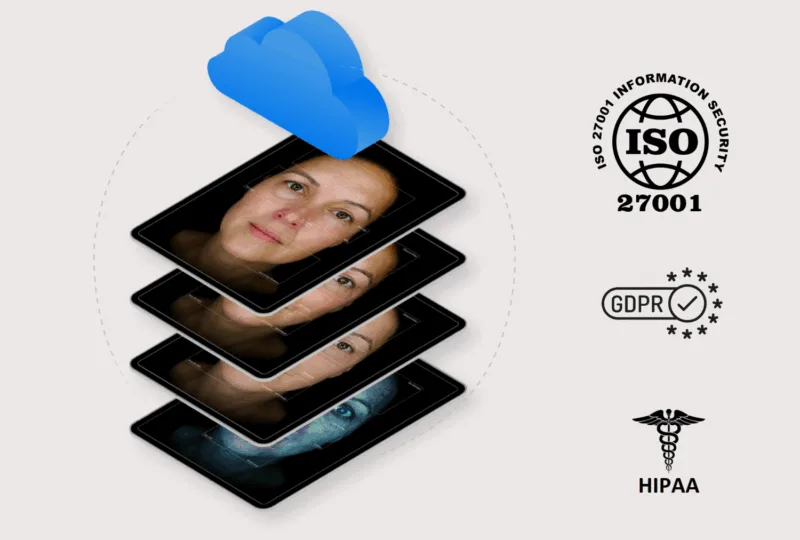
- Review HIPAA-compliant settings
- Assign team permissions
Building Confidence Through Simplicity
Team members often don’t realize they’re using Sylton Connect—that’s by design. The interface mirrors familiar iPad functionality while adding powerful collaborative features. Most practices are fully operational within one business day, with true optimization happening naturally over the first week.
Your catalogue setup becomes an extension of your professional identity. Import pre-filled brand catalogues for products you recommend regularly, add your custom treatments, and set pricing that reflects your practice’s value. These changes appear instantly across all team devices.
Week One Success Timeline
- Day 1: Complete setup and first session
- Day 2-3: Team members explore portal access
- Day 4-5: Begin catalogue customization
- Day 6-7: Notice workflow improvements
- Week 2: Full integration into daily operations
Detailed video tutorials, live chat support (business hours EST), and email assistance ensure you’re never alone during the transition. Most practices find they rarely need support beyond the first week—a testament to intuitive design that enhances rather than complicates existing workflows.
